

记录一些python编程的技巧和经验.
在命令行中直接使用python -c 执行简单语句
例如
python -c "import keras;print(keras.version)"
隐式继承
class SavingRecord:
    def __setattr__(self, name, value):
        # Save some data for the record
        pass
        super().__setattr__(name, value)
SavingRecord类并没有显式继承任何类,但是在SavingRecord类中使用了super(),这是因为任何类都会隐式继承自object类。
通过使用__mro__和print super来看一下继承关系。
class SavingRecord:
    def __setattr__(self, name, value):
        # Save some data for the record
        pass
        print(f'{super()=}')
        super().__setattr__(name, value)


print(f'{SavingRecord.__mro__=}')
record = SavingRecord()
record.foo = 10
Output:
SavingRecord.__mro__=(<class '__main__.SavingRecord'>, <class 'object'>)
super()=<super: <class 'SavingRecord'>, <SavingRecord object>>
从MRO中可以看到继承自object class。
f-string的!
f-string中可以加!把值转化为Unicode及repr形式的字符串。例如,f-string默认使用str(),加上!r参数可以将其转换为repr()。
在这个代码里面,将__str__()与__repr__()的返回值设定的不相同。
class Comedian:
    def __init__(self, first_name, last_name, age):
        self.first_name = first_name
        self.last_name = last_name
        self.age = age

    def __str__(self):
        return f"{self.first_name} {self.last_name} is {self.age}."

    def __repr__(self):
        return f"{self.first_name} {self.last_name} is {self.age}. Surprise!"
new_comedian = Comedian("Eric", "Idle", "74")

>>> f"{new_comedian}"
'Eric Idle is 74.'

# 加入!r参数
>>> f"{new_comedian!r}"
'Eric Idle is 74. Surprise!'
下面这个例子体现出了!r参数可以明确的显示出来变量的类型。
class SavingRecord:
    def __setattr__(self, name, value):
        # Save some data for the record
        pass
        super().__setattr__(name, value)

class LoggingSavingRecord(SavingRecord):
    def __setattr__(self, name, value):
        print(f'* Called __setattr__({name!r}, {value!r})')
        super().__setattr__(name, value)

data = LoggingSavingRecord()
data.foo = 5
print(data.__dict__)

# * Called __setattr__('foo', 5)
# {'foo': 5}
如果去掉!r参数,从结果中可以看出来输出的foo与dict的foo虽然名字一致,但是在输出的信息中,foo没有体现出它的类型。
class SavingRecord:
    def __setattr__(self, name, value):
        # Save some data for the record
        pass
        super().__setattr__(name, value)

class LoggingSavingRecord(SavingRecord):
    def __setattr__(self, name, value):
        print(f'* Called __setattr__({name}, {value})')
        super().__setattr__(name, value)

data = LoggingSavingRecord()
data.foo = 5
print(data.__dict__)

# * Called __setattr__(foo, 5)
# {'foo': 5}
在描述符中使用WeakKeyDictionary取代普通字典来防止内存泄漏
考虑如下的场景
class Grade:
    def __init__(self):
        self._values = {}

    def __get__(self, instance, instance_type):
        if instance is None:
            print(f'{self=}')
            return self
        return self._values.get(instance, 0)

    def __set__(self, instance, value):
        if not (0 <= value <= 100):
            raise ValueError(
                'Grade must be between 0 and 100')
        self._values[instance] = value
#%%
class Exam:
    math_grade = Grade()
    writing_grade = Grade()
    science_grade = Grade()

first_exam = Exam()
first_exam.writing_grade = 82

second_exam=Exam()
second_exam.writing_grade = 82
随着Exam实例的增多,会造成内存泄漏。Exam类里面self._values字典得不到释放。
这种情况下,可以使用WeakKeyDictionary,WeakKeyDictionary可以自动帮助释放内存。
修改后的代码为:
from weakref import WeakKeyDictionary

class Grade:
    def __init__(self):
        self._values = WeakKeyDictionary()

    def __get__(self, instance, instance_type):
        if instance is None:
            return self
        return self._values.get(instance, 0)

    def __set__(self, instance, value):
        if not (0 <= value <= 100):
            raise ValueError(
                'Grade must be between 0 and 100')
        self._values[instance] = value

class Exam:
    math_grade = Grade()
    writing_grade = Grade()
    science_grade = Grade()

first_exam = Exam()
first_exam.writing_grade = 82

second_exam = Exam()
second_exam.writing_grade = 75
for item in self
来看一个代码
class FrequencyList(list):
    def __init__(self, members):
        super().__init__(members)

    def frequency(self):
        counts = {}
        print(f"{self=}")
        for item in self:
            counts[item] = counts.get(item, 0) + 1
        return counts

foo = FrequencyList(['a', 'b', 'a', 'c', 'b', 'a', 'd'])
foo.frequency()
输出:
self=['a', 'b', 'a', 'c', 'b', 'a', 'd']
{'a': 3, 'b': 2, 'c': 1, 'd': 1}
第一次见还可以 for item in self。
字典的技巧
    policies = {
        f"policy_{i}": (None, obs_space, act_space, {})
        for i in range(args.num_policies)
    }
matplotlib设置绘图style
使用
print(plt.style.available)
mpl.style.use(['ggplot']) # optional: for ggplot-like style
可以列出所有的绘图样式以及设置要使用的样式。
每个样式的样子可以从此网址查看。https://zhuanlan.zhihu.com/p/37891729
matplotlib和pandas的使用教程可以查看IBM的课程练习https://labs.cognitiveclass.ai/tools/jupyterlab/lab/tree/labs/DV0101EN/DV0101EN-1-1-1-Introduction-to-Matplotlib-and-Line-Plots.ipynb?lti=true
matplotlib设置ticks范围
#设置范围为(0,1),间隔为0.2
plt.yticks(np.arange(0,12,2)/10)
matplotlib使用宋体
首先安装SimSun字体(宋体字体),https://github.com/SparksFly8/Stylify-Me/blob/master/.fonts/SimSun.ttf
然后设置一下matplotlib
import matplotlib
matplotlib.rcParams['font.family']='SimSun'
matplotlib.rcParams['font.size']=11
效果如图所示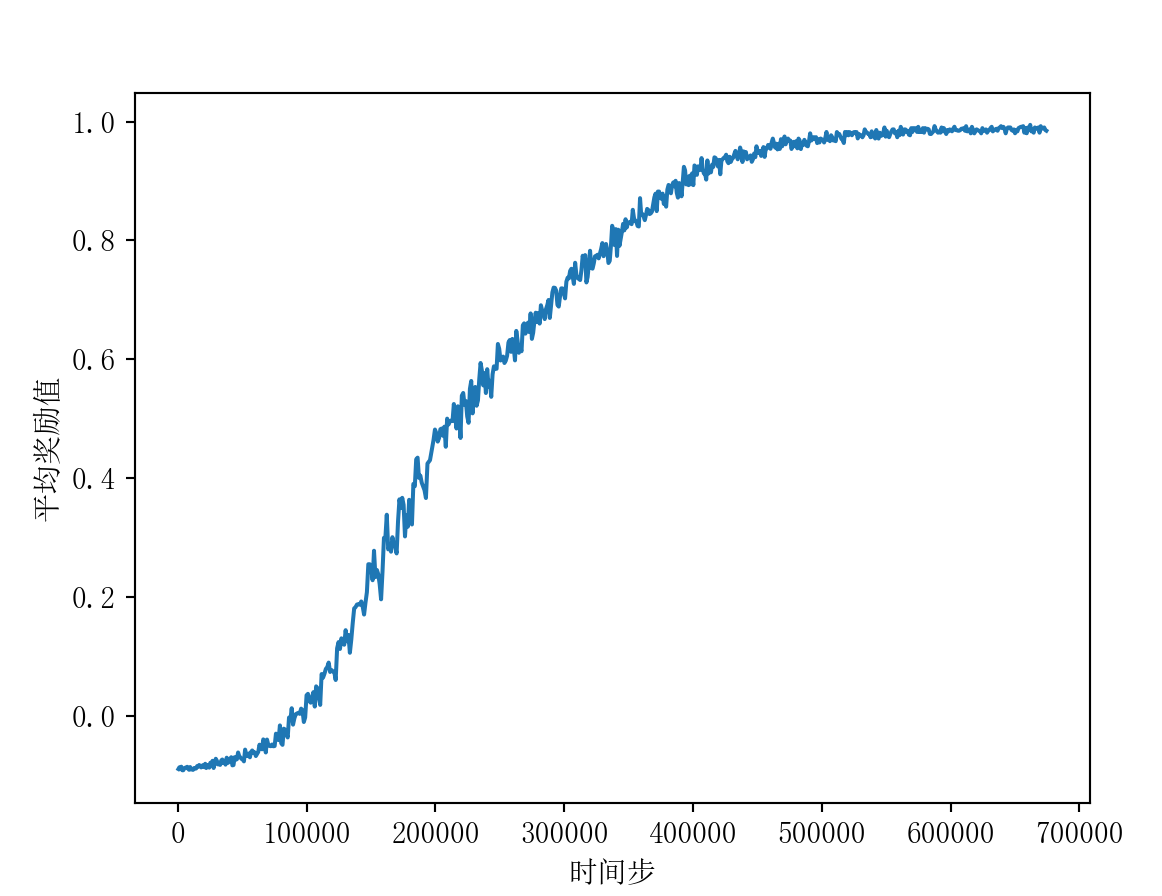
matplotlib指定figure的大小
fig = plt.figure(figsize=(8,6),dpi=400)
推导式中使用海象运算符编写条件判断语句
import random

x, y = [], []
for i in tqdm(range(0, 800000, 1000)):
    x.append(i)
    y.append(random.gauss(0,0.02))
上面的代码,如果要求random.gauss(0,0.02) < 0时,y要添加0。
如果是普通写法,可能会写成这样
for i in tqdm(range(0, 800000, 1000)):
    x.append(i)
    tmp=random.gauss(0,0.02)
    y.append(tmp if tmp>=0 else 0)
这样写显得不仅代码冗余,还将tmp这个只在y.append语句中使用的变量带到了工作域的外面,如果是复杂的代码,容易因为疏忽导致代码的错误。
如果使用海象运算符(python3.8中引入),程序就可以简化很多,将tmp放到y.append语句中,使之不离开自己的作用域,且完成了条件判断。
for i in tqdm(range(0, 800000, 1000)):
    x.append(i)
    y.append(tmp if (tmp:=random.gauss(0,0.02))>=0 else 0)
:= 即海象运算符,它的作用是在语句中赋值。
但是上面的代码不能写成这样
for i in tqdm(range(0, 800000, 1000)):
    x.append(i)
    y.append(tmp:=random.gauss(0,0.02)) if tmp>=0 else 0)
因为在条件判断时,代码从后往前执行,所以这样写的话,执行if tmp>=0时,tmp还没有被定义。
matplotlib使用坐标轴为10k,20k等k为单位画图
from matplotlib.ticker import FuncFormatter

def x_ticks_new(temp, position):
    result = temp / 1000
    return f'{result:.0f}k'

fig = plt.figure()
ax = fig.add_subplot(111)
ax.plot(x, y)
plt.gca().xaxis.set_major_formatter(FuncFormatter(x_ticks_new))
plt.show()
argparse的全面教程
https://towardsdatascience.com/a-simple-guide-to-command-line-arguments-with-argparse-6824c30ab1c3
print f string的用法我竟然一直用错了
我之前一直这么用f string
err = 'nihao'
print(f'err={err},type(err)={type(err)}')
#Output: err=nihao,type(err)=<class 'str'>
缘来应该这么用
err = 'nihao'
print(f'{err=},{type(err)=}')
# Output: err=nihao,type(err)=<class 'str'>
我们在使用print调试的时候尽量加repr,这样可以避免print消除不同类型的表示
>>> print(5)
5
>>> print('5')
5
>>> print(repr(5))
5
>>> print(repr('5'))
'5'
使用repr后,字符串的5,print出来还是字符串的表示方式,如果不用repr,字符串5和数值5,print出来后不能分辨具体的类型。
可以在自己的类中重新定义__repr__来更好的描述自己的类
>>> class BetterClass:
...     def __init__(self,x,y):
...         self.x=x
...         self.y=y
...
...
>>> obj=BetterClass(2,'bar')
>>> obj
#这时候obj打印出的东西是不human readable的
<__main__.BetterClass object at 0x0000019E5452FA60>
我们修改一下BetterClass。
>>> class BetterClass:
...     def __init__(self,x,y):
...         self.x=x
...         self.y=y
...     def __repr__(self):
...         return f'BetterClass({self.x},{self.y})'
...
...
>>> obj=BetterClass(2,'5')
>>> obj
BetterClass(2,5)
>>> obj.__dict__
{'x': 2, 'y': '5'}
这时候我们在BetterClass中重新定义__repr__,这时候再打印obj就会输出比较human readable的内容。我们也可以通过__dict__来看类中定义的变量。
尽量避免直接返回某一个表达式,这样不方便调试
    def _process_image(self, image):
        """Convert the RGB pic to gray pic and add a channel 1

        Args:
            image ([type]): [description]
        """

        if image is not None:
            image = cv2.cvtColor(image, cv2.COLOR_RGB2GRAY)
            image = cv2.resize(image, (self.kImageSize['width'], self.kImageSize['height']))[:, :, None]
            return np.array(image, dtype=np.uint8)
        else:
            return np.zeros((self.kImageSize['width'], self.kImageSize['height'],1), dtype=np.uint8)
我们看最后一句
return np.zeros((self.kImageSize['width'], self.kImageSize['height'],1), dtype=np.uint8)
这样想调试一下这个表达式返回的值正确吗,就不太方便,所以我们尽量这么写。
image=np.zeros((self.kImageSize['width'], self.kImageSize['height'],1), dtype=np.uint8)
return image
尽量使用time.perf_counter()来代替time.time()统计时间,前者更精确,使用方法和time.time()是一样的
巧用zip
我们来看一个机械臂控制的例子,假如我们要计算逆解,那么求逆解的函数返回的每个关节的角度数据如下:
joint_values=
(-0.4616355420283151,
 -1.4667658860641408,
 2.411774603444392,
 2.1643508827900537,
 -1.1038335287029128,
 0.014942517004086116,
 0.0,
 0.0,
 0.0,
 0.0,
 0.0,
 0.0)
一共有12个数据,但是机械臂获取关节数一共有18个,说明有一部分不是可旋转的,意思就是只有部分的电机是旋转电机,那么我们也获取一下旋转电机的id,看看哪些是可旋转的。
motor_ids=[1, 2, 3, 4, 5, 6, 9, 11, 13, 14, 16, 18]
我们看到只有这些编号的电机是可旋转的,所以如果我们想要控制电机转到想要的那个角度,就需要将其编号与上面的转角值对应起来,可以这么写代码:
for i in range(len(motor_ids)):
    resetJointState(motor_ids[i],joint_values[i])
我们也可以写的更优美一些
for index,value in zip(motor_ids,joint_angles):
    resetJointState(index,value)
我们执行
list(zip(motor_ids,joint_angles))
的结果是
[(1, -0.22656340929492969),
 (2, -1.5862377963570284),
 (3, 1.449089113111451),
 (4, 4.8454574118690354),
 (5, -1.5705315617427602),
 (6, -0.2267514113405695),
 (9, 0.0),
 (11, 0.0),
 (13, 0.0),
 (14, 0.0),
 (16, 0.0),
 (18, 0.0)]
同时,使用zip可以避免一些因为维度不同而产生的错误,比如
list(zip([1,2,3],[4,5,6,7]))
得到的结果是
[(1, 4), (2, 5), (3, 6)]
最后的7就被抛弃了。
别忘了r str
我们在写字符串或者地址的时候,可以加上r,来代表是raw string。
>>> path='C:\Users\yan'
SyntaxError: (unicode error) 'unicodeescape' codec can't decode bytes in position 2-3: truncated \UXXXXXXXX escape
>>> path='C:\\Users\\yan'
>>> path
'C:\\Users\\yan'
>>> pathr=r'C:\Users\yan'
>>> pathr
'C:\\Users\\yan'
>>> pathd="C:\Users\yan"
SyntaxError: (unicode error) 'unicodeescape' codec can't decode bytes in position 2-3: truncated \UXXXXXXXX escape
>>> pathdr=r"C:\Users\yan"
>>> pathdr
'C:\\Users\\yan'
>>>
生成随机的图像
如图
所示,这种随机的图像其实非常容易生成
import matplotlib.pyplot as plt
import numpy as np

fig=plt.figure()
ax=fig.add_subplot(1,1,1)
ax.plot(np.random.randn(1000).cumsum())


评论(0)
您还未登录,请登录后发表或查看评论